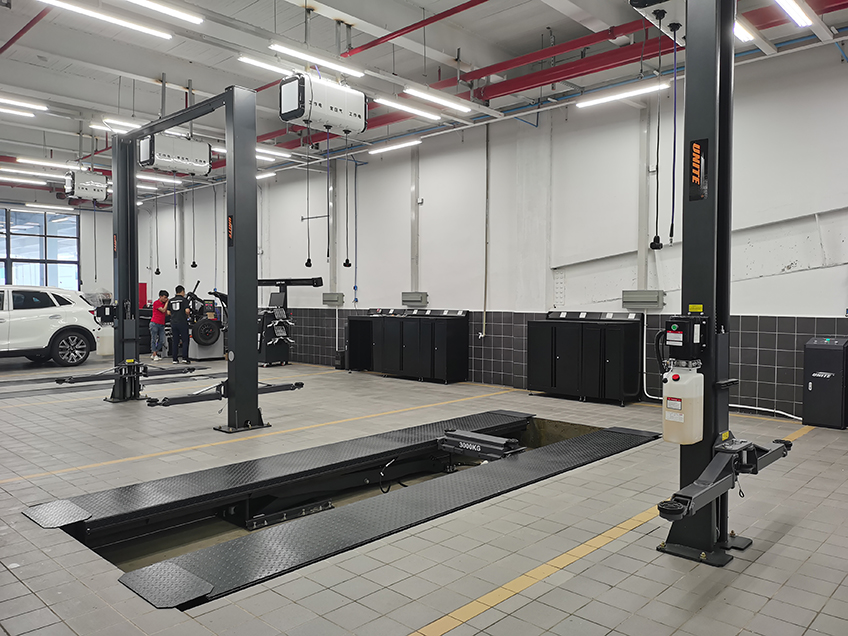
Properly positioning a car on a 2 post lift is essential for safe and effective vehicle maintenance. Whether you’re a professional mechanic or a car enthusiast working on your own vehicle, understanding the correct positioning techniques will ensure stability and accessibility during the lifting process. In this comprehensive guide, we will walk you through the step-by-step process of positioning a car on a 2 post lift, allowing you to maximize safety and efficiency in your automotive projects.
Step 1: Assess the Lift’s Capacity and Vehicle Specifications
Before positioning the car on the 2 post lift, it is crucial to confirm that the lift’s weight capacity exceeds the weight of the vehicle you intend to lift. Refer to the lift’s specifications or user manual to determine the maximum weight capacity. Additionally, familiarize yourself with the specific vehicle’s weight and dimensions to ensure compatibility with the lift.
Step 2: Clear the Surrounding Area
Clear the area around the lift to create ample space for maneuvering the vehicle. Remove any objects, tools, or debris that may interfere with the lifting process. Ensure there is sufficient overhead clearance to prevent the vehicle from contacting the ceiling or any other obstructions.
Step 3: Position the Lift Arms
Extend the lift arms to their maximum height and ensure they are level and locked securely in place. Adjust the lift arms to match the width of the vehicle, allowing for a balanced and stable lifting position. Refer to the lift’s user manual for specific instructions on adjusting the arm width.
Step 4: Drive the Vehicle onto the Lift
Carefully drive the vehicle onto the lift, ensuring the wheels are aligned with the lift’s arms. Position the vehicle so that the center of gravity is evenly distributed between the two lift arms. Keep in mind that some lifts have recommended vehicle placement marks or guidelines to assist with positioning.
Step 5: Align the Vehicle Wheels
Once the vehicle is on the lift, ensure that the wheels are positioned correctly. The wheels should be centered on the lift arms, with the tires parallel to each other. This alignment will provide stability during the lifting process and prevent any unnecessary stress on the lift arms.
Step 6: Secure the Vehicle
Before lifting the vehicle, secure it to the lift arms using appropriate lifting points. Common lifting points include designated frame or suspension points recommended by the vehicle manufacturer. Avoid using components such as the exhaust or body panels for lifting, as they may not withstand the weight and could be damaged.
Step 7: Perform a Test Lift
Before lifting the vehicle to its desired height, perform a test lift to ensure stability and proper positioning. Raise the vehicle a few inches off the ground and observe for any signs of imbalance or instability. If the vehicle appears uneven or unsteady, lower it back down and reposition as necessary until it is properly balanced.
Step 8: Raise the Vehicle to the Desired Height
Once you are satisfied with the positioning and stability, gradually raise the vehicle to the desired working height. Ensure that the lift arms maintain their level position as the vehicle is lifted, and monitor the lifting process for any unusual sounds or movements.
Step 9: Confirm Stability and Safety
Once the vehicle is lifted to the desired height, double-check its stability and ensure all safety mechanisms, such as safety locks, are engaged. Gently shake the vehicle to ensure it is secure and properly seated on the lift arms. Verify that the vehicle does not exceed the lift’s weight capacity and that the lift’s components are not under excessive strain.
Step 10: Begin Your Work
With the vehicle securely positioned on the 2 post lift, you are ready to commence your maintenance or repair tasks. Remember to follow proper safety protocols, including the use of safety stands or blocks for additional support, when working under the vehicle.
Positioning a car on a 2 post lift is a crucial step in ensuring safe and efficient vehicle maintenance. By following the step-by-step guide outlined above, you can confidently position your vehicle on a 2 post lift, maximizing stability and accessibility during your automotive projects. Remember to always consult the lift’s user manual and adhere to safety guidelines provided by the lift manufacturer. With proper positioning techniques, you can elevate your automotive work and carry out tasks with confidence and precision.

